Eride Pro 3.0/SR (3 Pin) Turn Signal and Brake Light Kit Wiring Diagram

INSTALLATION VIDEO*CLICK HERE*
1. Turn Signal Switch:
Installs on to left side handle bar, slide off grip and install switch within thumbs reach(Horn button on switch is not functional) Route switch and front turn signal wires through bike to the ignition cover.
2. Tail Light Bracket:
Install by reusing stock screws
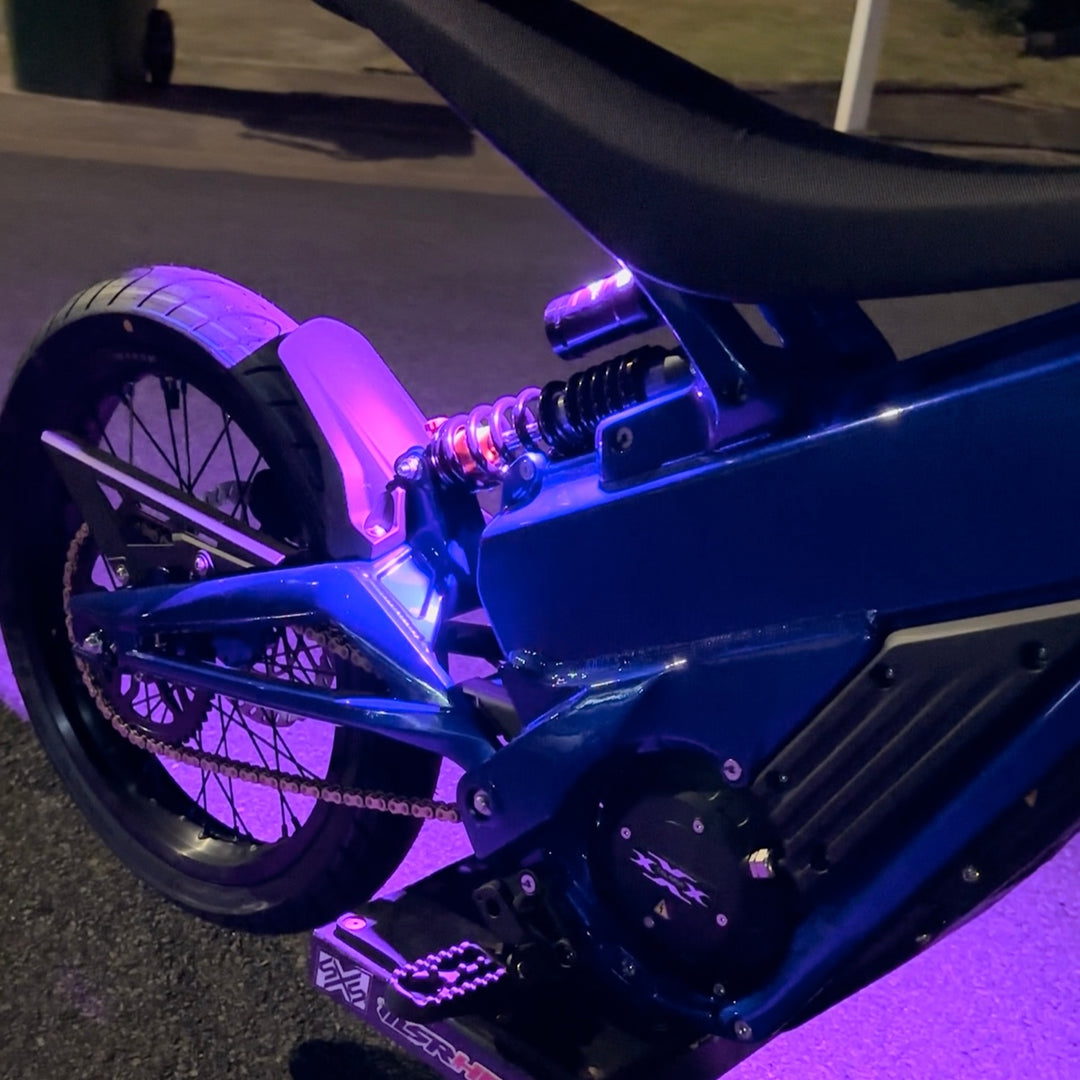
3.Brake Light/Rear Turn signals:
Be mindful of Left and Right arrows on the back of tail light, the two connectors from the tail light plug into the switch wiring harness
4. Front Turn Signals:
Mounts to the forks with provided screws. Use zip ties to secure loose wire to forks. Tuck flashing module and extra wire under ignition cover.
5. 2x Screws
6. 3.0/SR Adapter Diagram:
*Important Wiring Information – E Ride Pro Models*
E Ride Pro is constantly making updates and revisions to their bikes, so wire colors may vary depending on the production year or model version.
If the wire colors on your bike do not match the instructions, or if you experience any issues during installation, we strongly recommend using a multimeter to verify the wires on the tail light connector before making connections.
Our adapter wire functions are as follows:
- Red = Positive (+)
- Black = Negative (-)
- Blue = Brake Light Signal