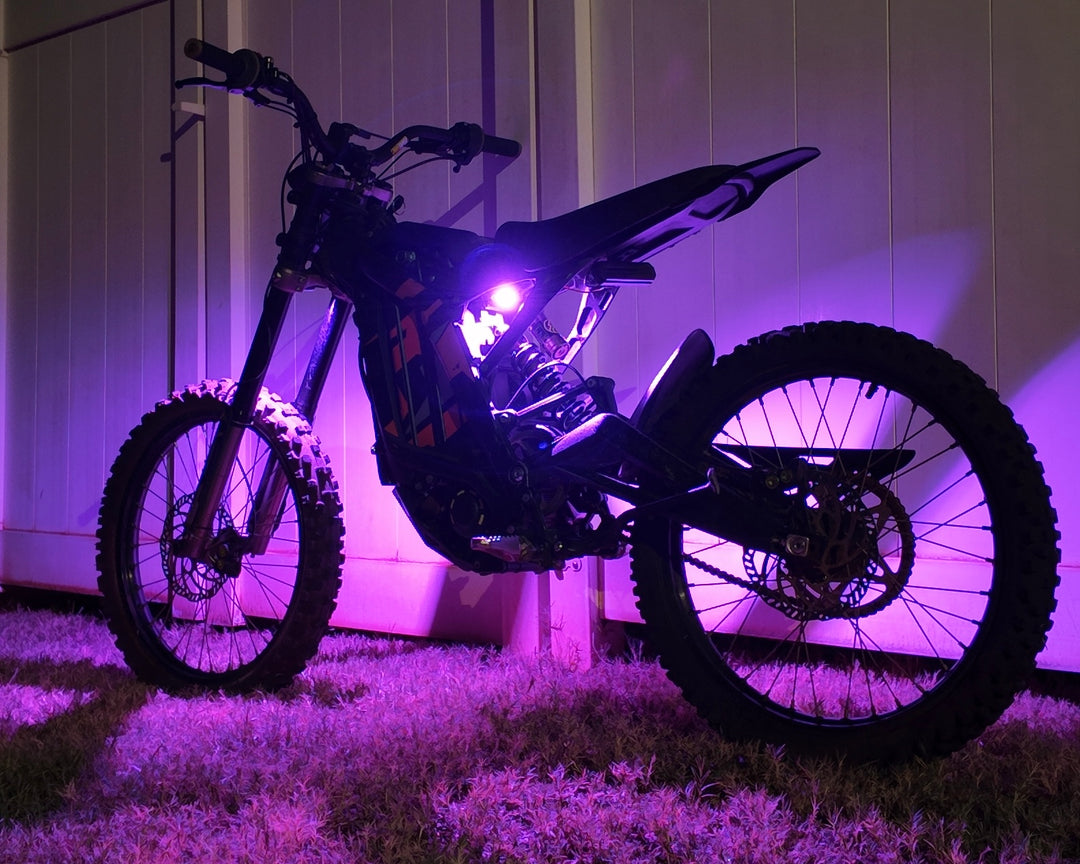
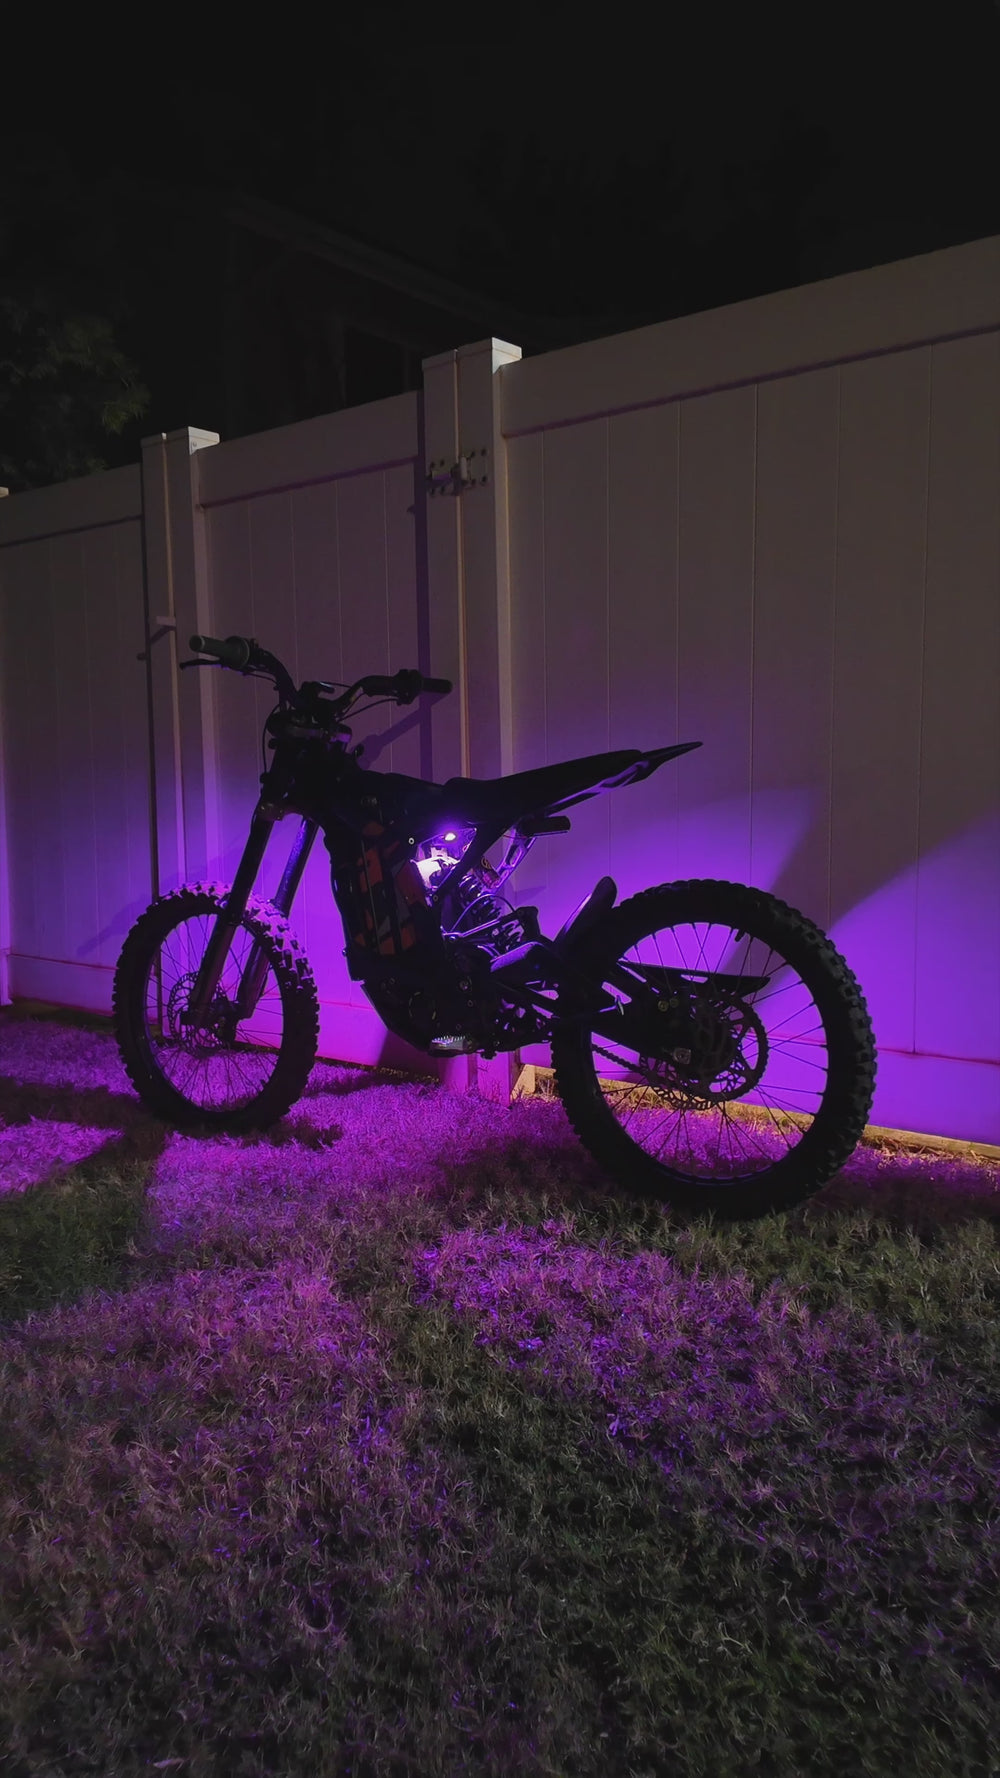
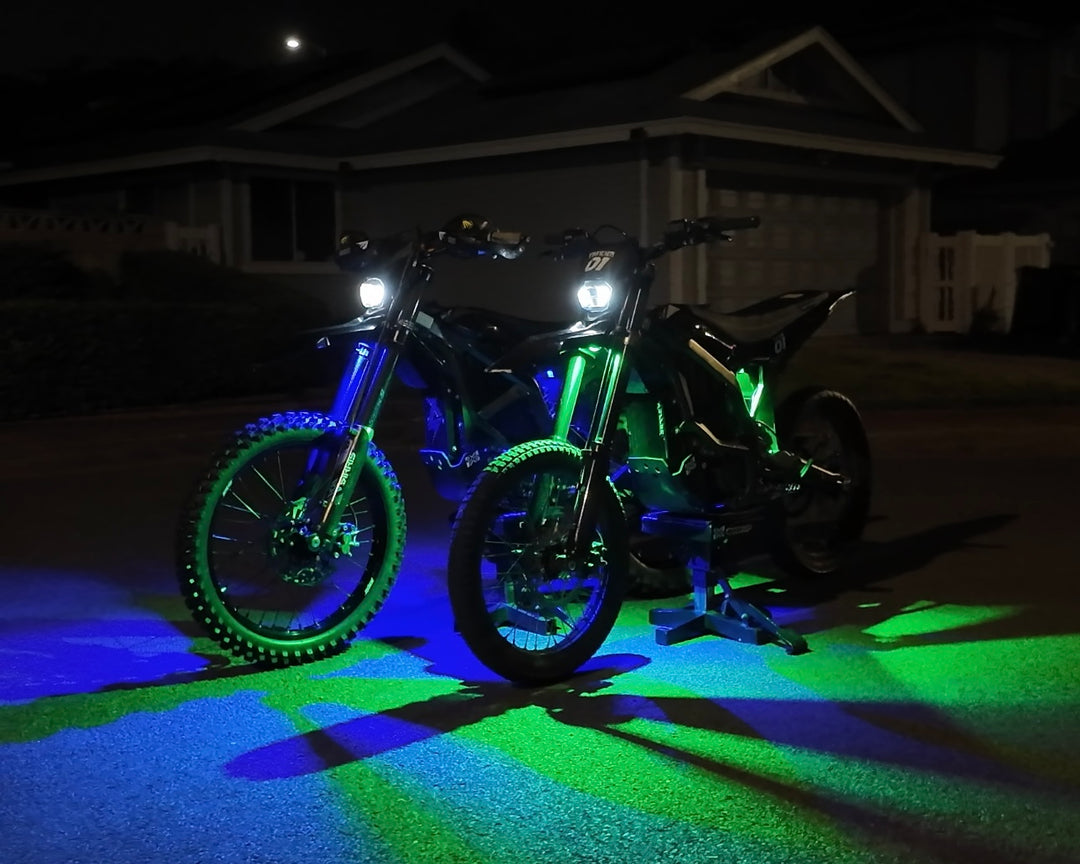
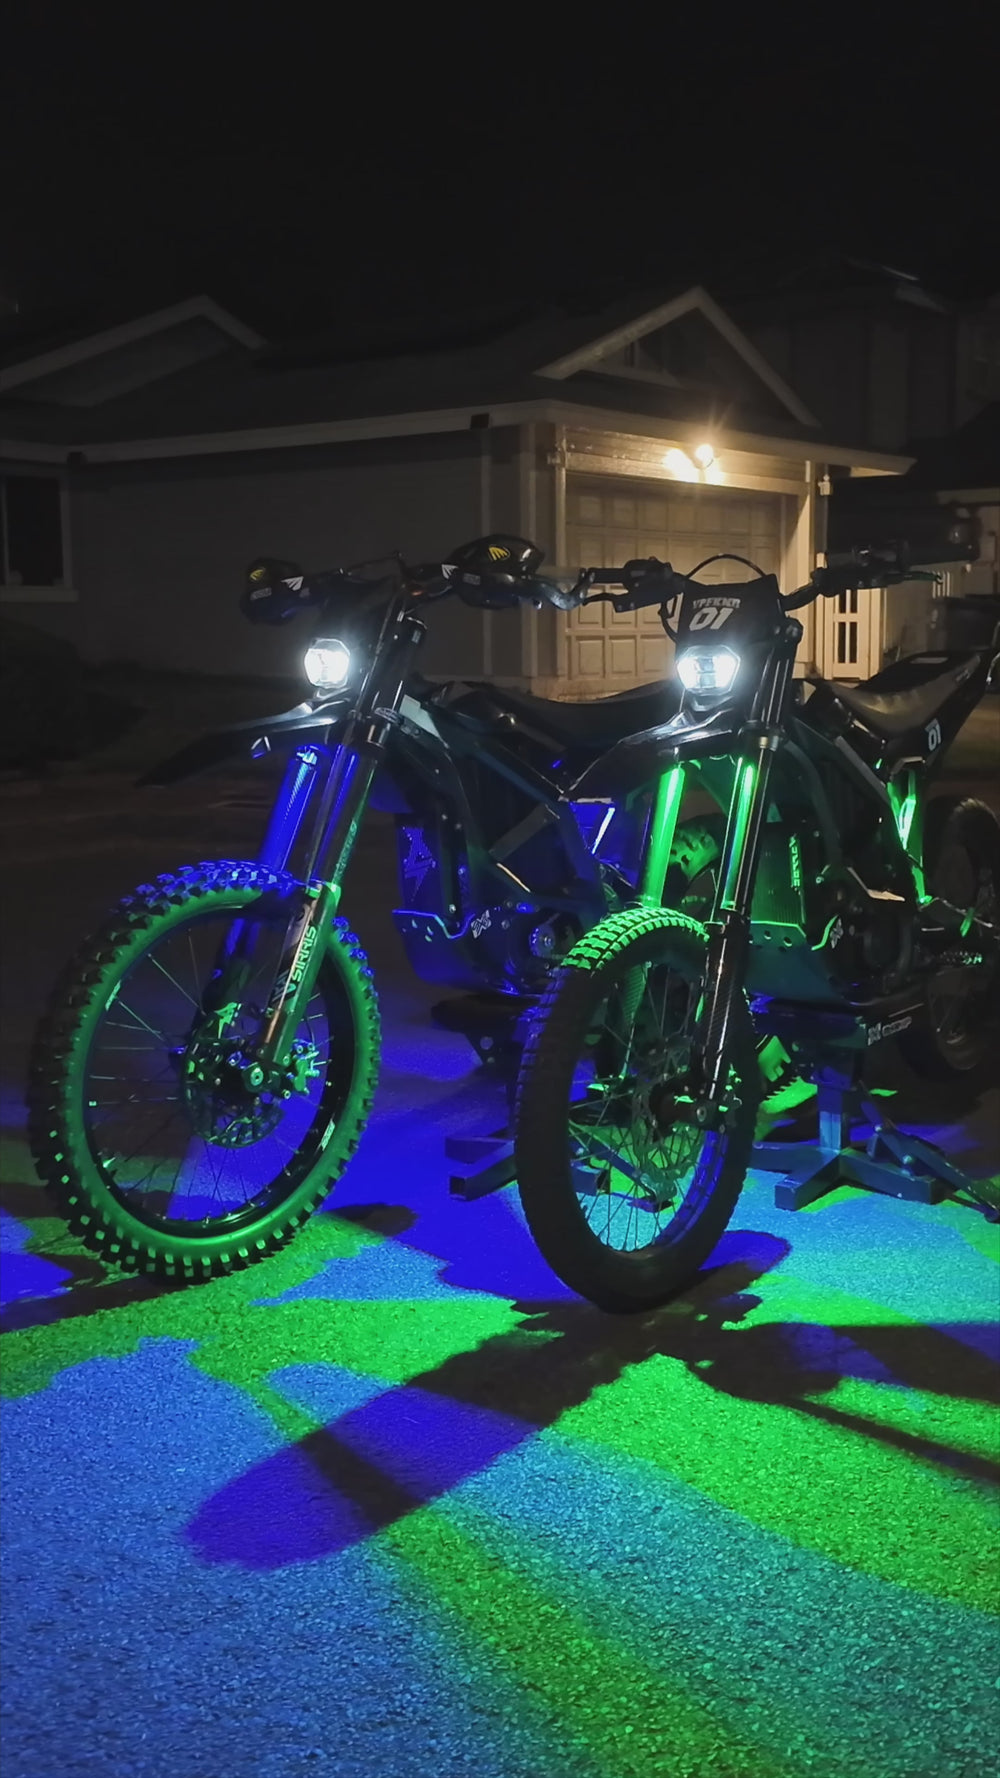
Surron Underglow
SURRON UNDER GLOW LED KIT!- DESIGNED SPECIFICALLY FOR SURRON!
Our LED kit includes a light bracket specifically designed for the Surron! Other companies require you to use double sided tape to mount your LEDs, we have found that over time these tend to peel off and are a hassle tucking in all the wiring.
Our solution was to develop a bracket that makes installation of your under glow a breeze!
Installation:

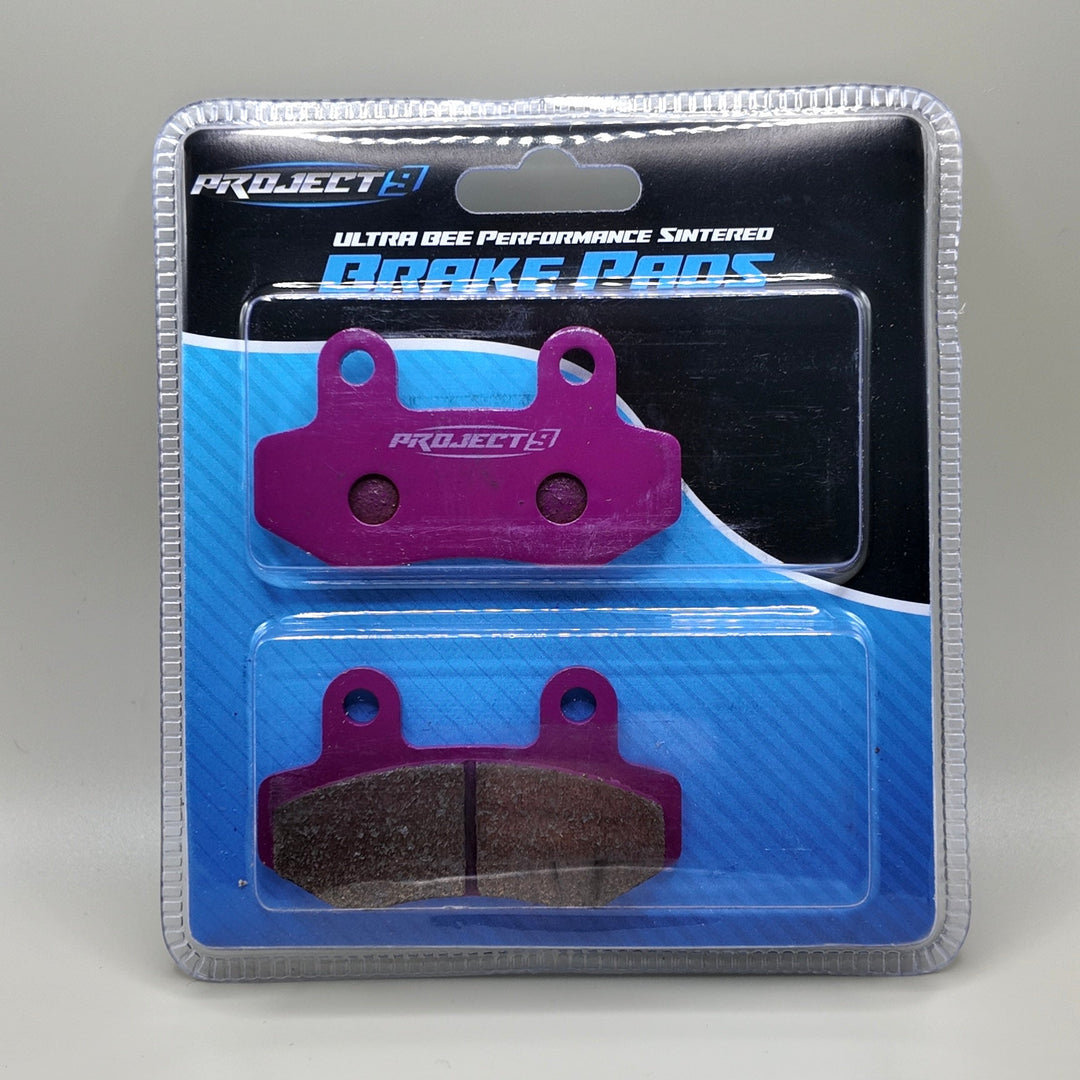
Included in the kit is 1x Surron Under glow LED, 2x Mounting Bolts, 2x Zip-ties
STEP 1:
TURN OFF BREAKER SWITCH, UNPLUG BATTERY, TAKE KEY OUT- This is a very important step as we do not want to cause any damage to the electrical system
STEP 2:
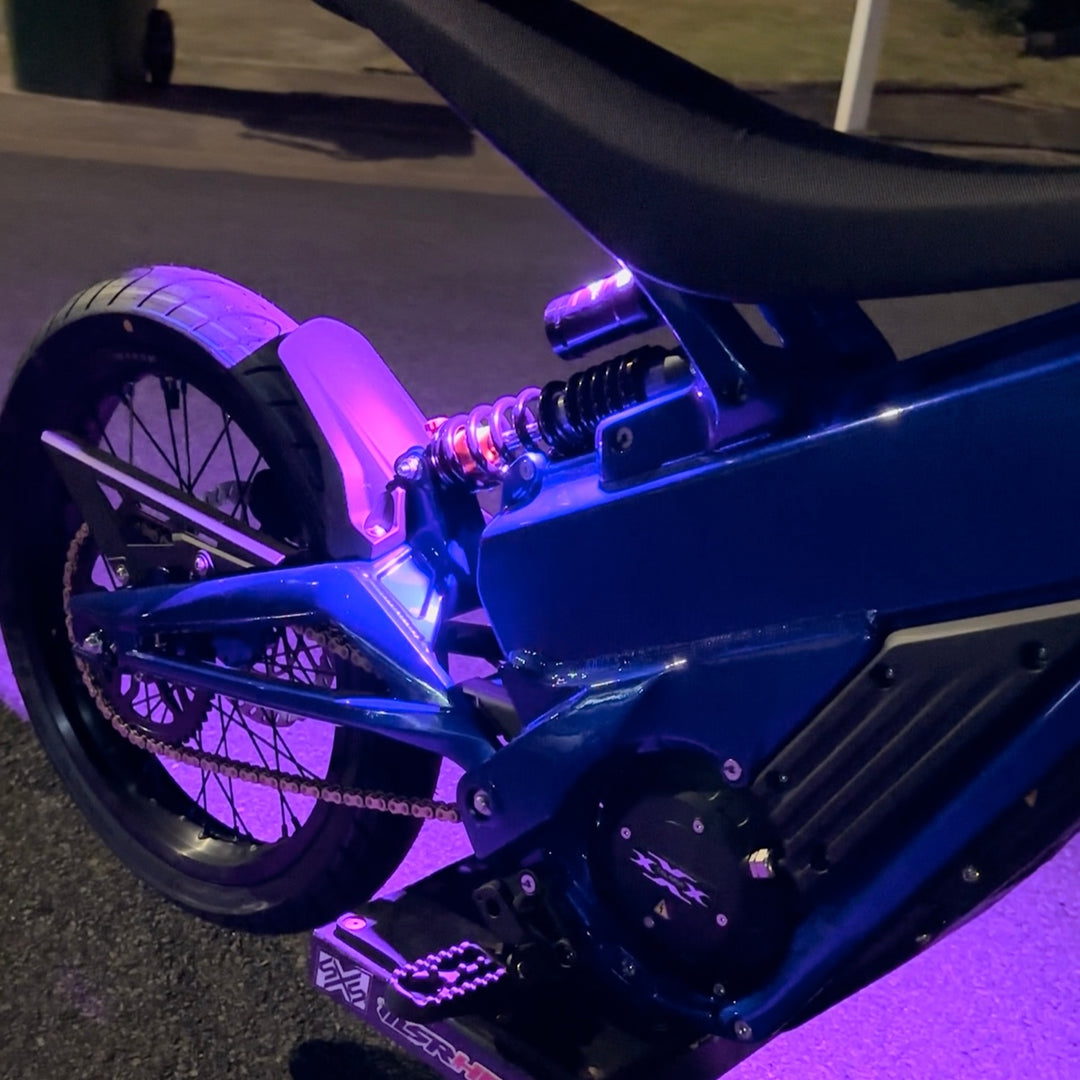
We will be installing the under glow above the rear shock and bellow the seat, using the two screw holes provided on the battery frame


STEP 3:
Mount the under glow bracket with the 2x screws provided. Hand tighten as much as possible

STEP 4:
Using a torque bit wrench tighten the bolts till they are snug. BE CAREFUL TO NOT OVER TIGHTEN AS YOU COULD BREAK THE BRACKET all thats needed is a quarter turn when tight

STEP 5:
Remove tail light with 5/16 wrench

STEP 6:
Identify the positive and negative terminals Left side is positive and right side is negative and remove them. MAKE SURE YOU REMEMBER WHICH WIRE IS POSITIVE AND WHICH IS NEGATIVE we recommend marking the positive wire with a piece of tape

STEP 7:
Identify the holes in the Positive(+) and Negative(-) terminals, we will be inserting the under glow wires through here
STEP 8:
Insert the Positive(RED+) wire through the Left terminal through the backside of the tail light, Insert the Negative(BLACK-) wire though the right side. Bend the wires at the end like so it hooks around the outside of the terminal like so:
MAKE SURE WIRES ARE NOT TOUCHING EACHOTHER

STEP 8:
Verify Wires are not touching each other and slide on Positive(+) connector on the left side terminal(Red) and Negative(-) connector on the right side(Black). It should look like this

STEP 9:
Connect battery and turn on breaker switch, turn key on and check if under glow is working
If your under glow is not working it is likely that the Positive(+) and Negative(-) wires were placed on the wrong side terminal. If it is still not working please contact us on our "contact us" page and we will resolve the issue for you

STEP 10:
Using the provided 2x Zip-ties tie the wires together with the tail light wire and mount tail light back in place

STEP 11:
ENJOY YOUR UNDERGLOW! Don't forget to tag us on instagram @project9.design